
This is a project that I have wanted to do
for a long time and with my parents old 28" LCD TV going unused now seemed
to be a perfect time. The idea is nothing particularly new; it has been done
before countless times. However I did not want to spend the earth making this
one and fortunately I managed to finish this off for a couple of hundred quid
(given that the TV was a free-be).
Unlike the
revolving TV also under development at the same time this was done in a far
more unplanned way, so no cad was done before hand. I just got a tape measure
and took key dimensions from the bed that I was fitting it two and the TV
itself anything else I just made fit later on.
So without further
ado, here are some pictures of the different parts though the build process with
a short description of each.

These
were the first two parts that I put together, the front and back of the unit. They
are made from 18mm MDF cut to 150mm widths and assembled using wood glue and
dowel pins. With the frame assembled I then routed a 5mm step around the
openings on the back of each part and tacked in a rectangle of 5mm MDF for each
of the panels. Once the glue hardened this left two pretty solid sheets. You
may notice that the front and back are not exactly the same and this was
because the piece that faces the bed, attaches to the bed using the standard
bed head bolts. I wanted to position these bolts in-line with the 18mm MDF rather than the 5mm and to make this
possible I had to raise the lower horizontal piece on the relevant panel.


This component is the TV draw. It too is made from
18mm MDF and as a result is quite heavy which gave me a few issues later on
when finding adequate drive for the lift however I decided to put
this together to hide the rear of the TV and all of its ugliness. When making this component I pre-cut a
hole for the cables in the bottom piece and mounted the two wall brackets that
were supplied with the TV.

This is the TV draw mounted in the draw runners attached to the end panel.

And this is it with the bed panel also attached.

With the draw removed it is easy to see how I have mounted both the draw runners and the pulley system. Both of these components were purchased from B&Q (against my better judgement and to the dismay of my wallet) but they serve their purpose and it was local-ish.
The next part was
to find some way of driving the TV up and down. Originally I was going to use a
linear actuator but these started to go up to £130 when I specified something
suitable and then it turned out that the appropriate one was too big to fit
within what I had made. So it was back to the drawing board. I next looked at
simply counter balancing the TV with weights and moving it up and down manually
but once again I was hit by size constraints, as in order to lift the weight of
my slightly aged telly and the over engineered 18mm MDF draw it was sat in I
was going to have to put in a large amount of weight, and needless to say there
was no room.
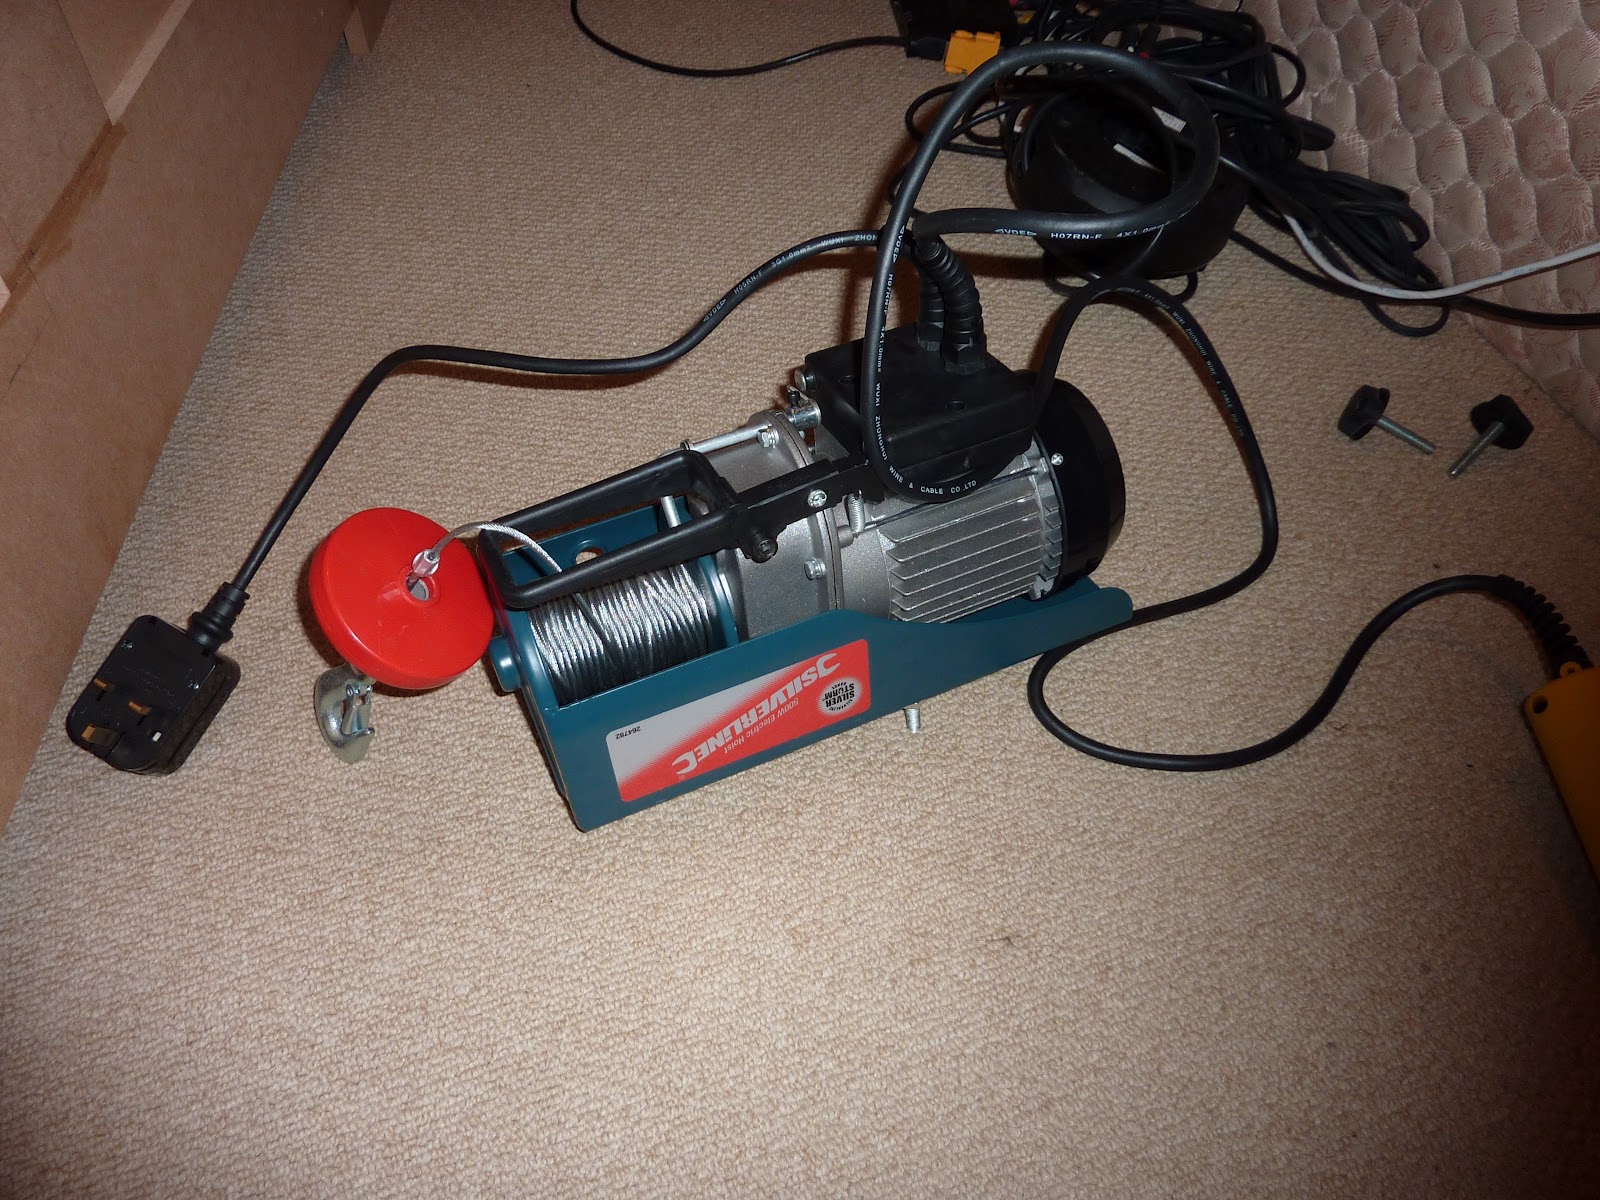
The solution was a workshop winch which in the end only set me
back £68 and miraculously fit in as if it was made to measure. Four bolts on
the right hand side held it in place.

Four bolts on the right hand side held it in place.


At this stage I threaded through the 8mm rope, also purchased from B&Q and attached it to the winch.


Then I tested the whole assembly to see if it could handle the load. It did and aside from sounding like a missile silo it worked remarkably well.

At
this point I made the three cover pieces. The two outer once have a smaller
rectangle of MDF attached to the bottom of them which is used to align them
into the holes that they are covering. On one side the winch is housed and on
the other there is space for the small pc that I will be using with the TV.


At
this point I disassembled the entire lot and went to work with the filler, covering
all of the screw holes and gaps leaving a smooth finished surface for painting.


At
this point I painted all of the components with a couple of coats of an off
white satinwood. This was chosen to fit in with the neutral room and the duvet
cover I have. It is also slightly less stark than a brilliant white.

Finally I
attached the finished product to the bed and I am pretty happy with the results.
Below is a short video of it going up and down to give you an idea of the speed
(and the noise, although I think it sounds worse in the video than it is in the
flesh).
Future improvements:
-Lighter TV
-Lighter Frame in certain areas
- Quieter and more efficient drive